T-Scann 8 - project page
Super 8 / Regular 8 film scanner
Raspberry PI user interface - ver 5.0 stabilization instructions
Switch between S8/Super 8 and R8/Regular 8
Disable stabilization
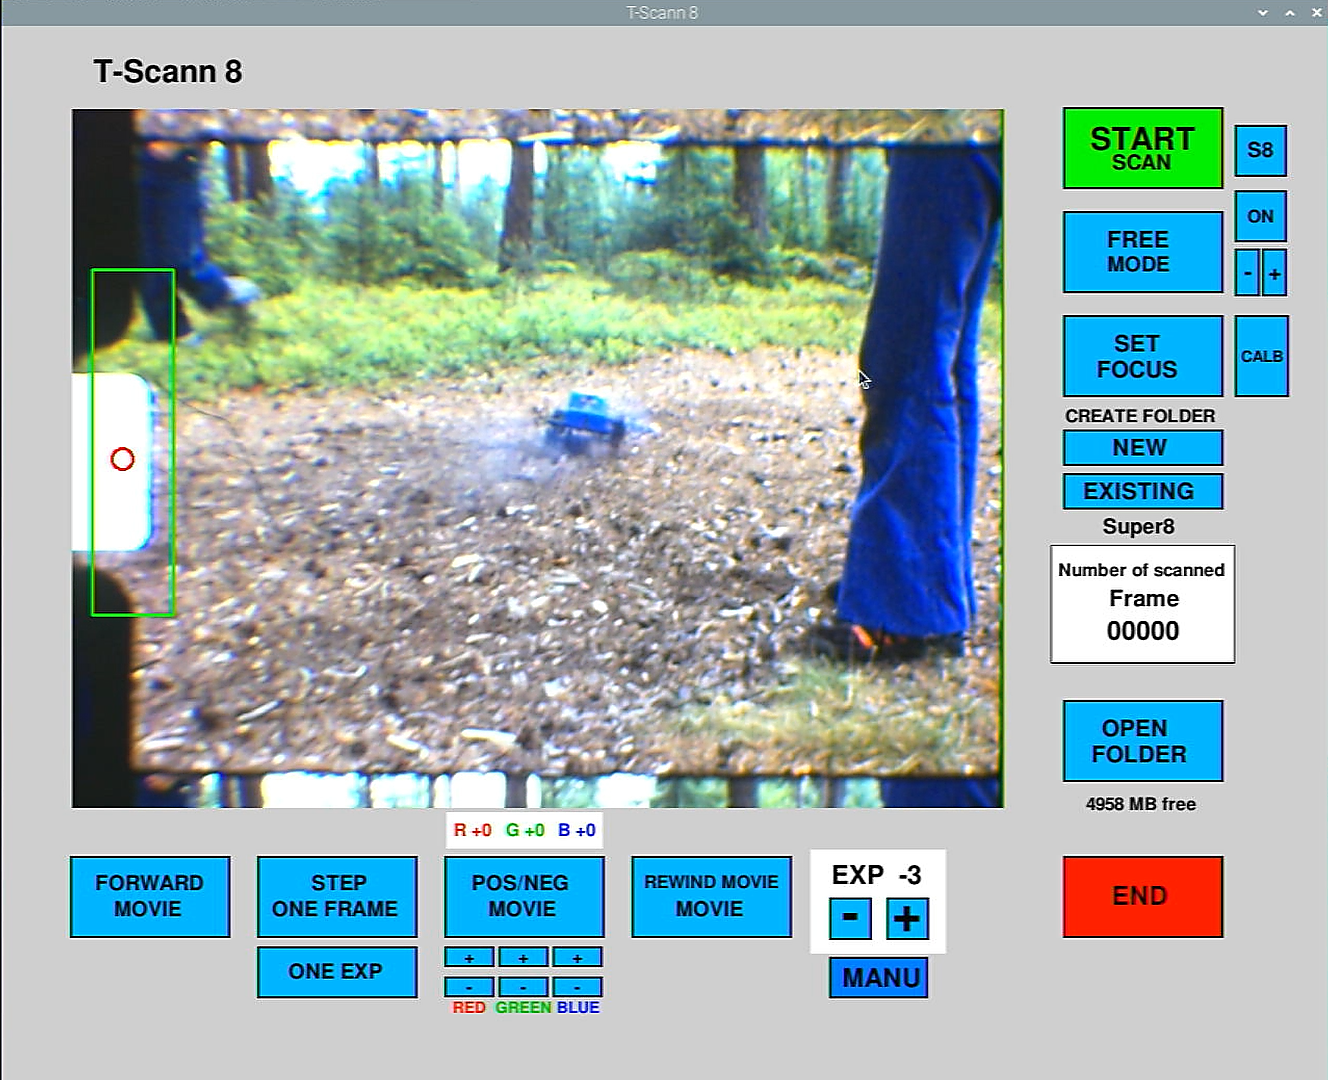
Adjustment right side of green frame/Search area
Curve display type Serial plot (Arduino IDE)
Demo film
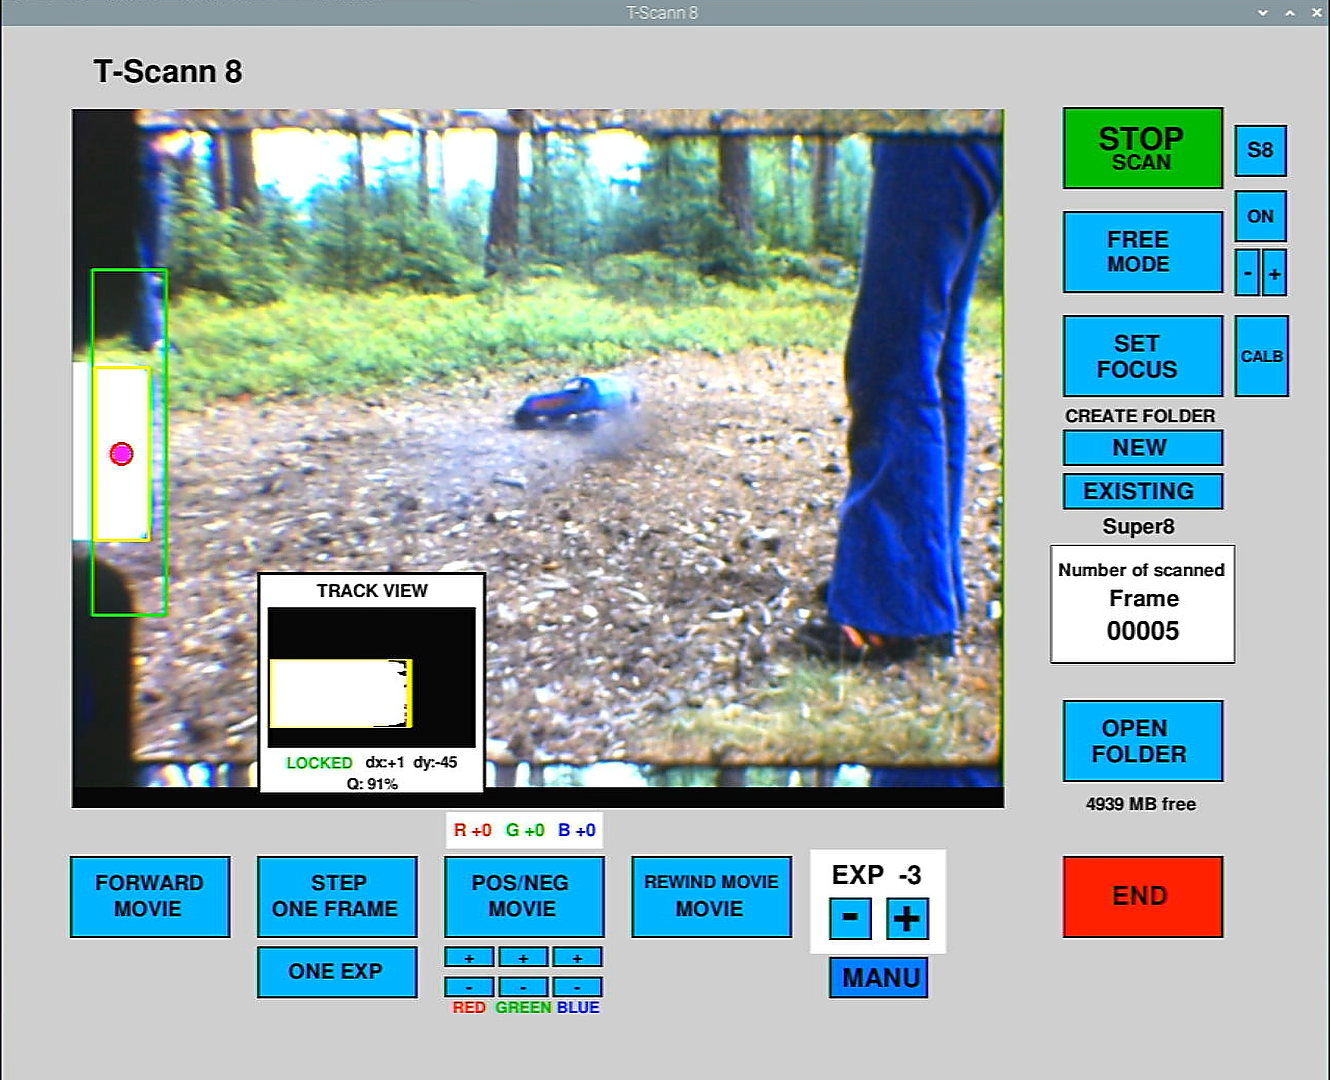
This is Super 8 mode.
The green frame in this area is looking for the perforation. The right edge can be moved to reduce the risk of the stabilization being disturbed by bright parts of the image
The yellow frame here has
found the perforation
Q is a measure of how well the stabilization works
95–100%: very stable tracking
85–94%: normally good
70–84%: quite variable
below
70%: risk of tracking the wrong object or noise
The red ring, with a pink dot in the middle shows that the stabilization is working if the pink spot is outside then it has lost stabilization
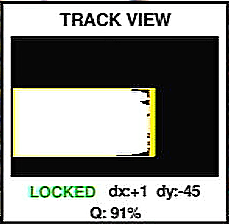
Track view shows what happens during scanning
the part of the program OpenCv that handles stabilization only sees a black and white image of stabilization that has very high contrast almost always only the very white part which is the perforation hole. Everything else turns black unless it is white snow or heavily overexposed.
dx = Height. Shows how much it corrects (+/- max 70)
dY = Lateral. Shows how much it corrects (+/- max 100)
If you want to change do this:
374 # ===== Stabilization limits =====
375 S8_MAX_SHIFT_X = 70
376 S8_MAX_SHIFT_Y = 100
377 R8_MAX_SHIFT_X = 70
378 R8_MAX_SHIFT_Y = 100
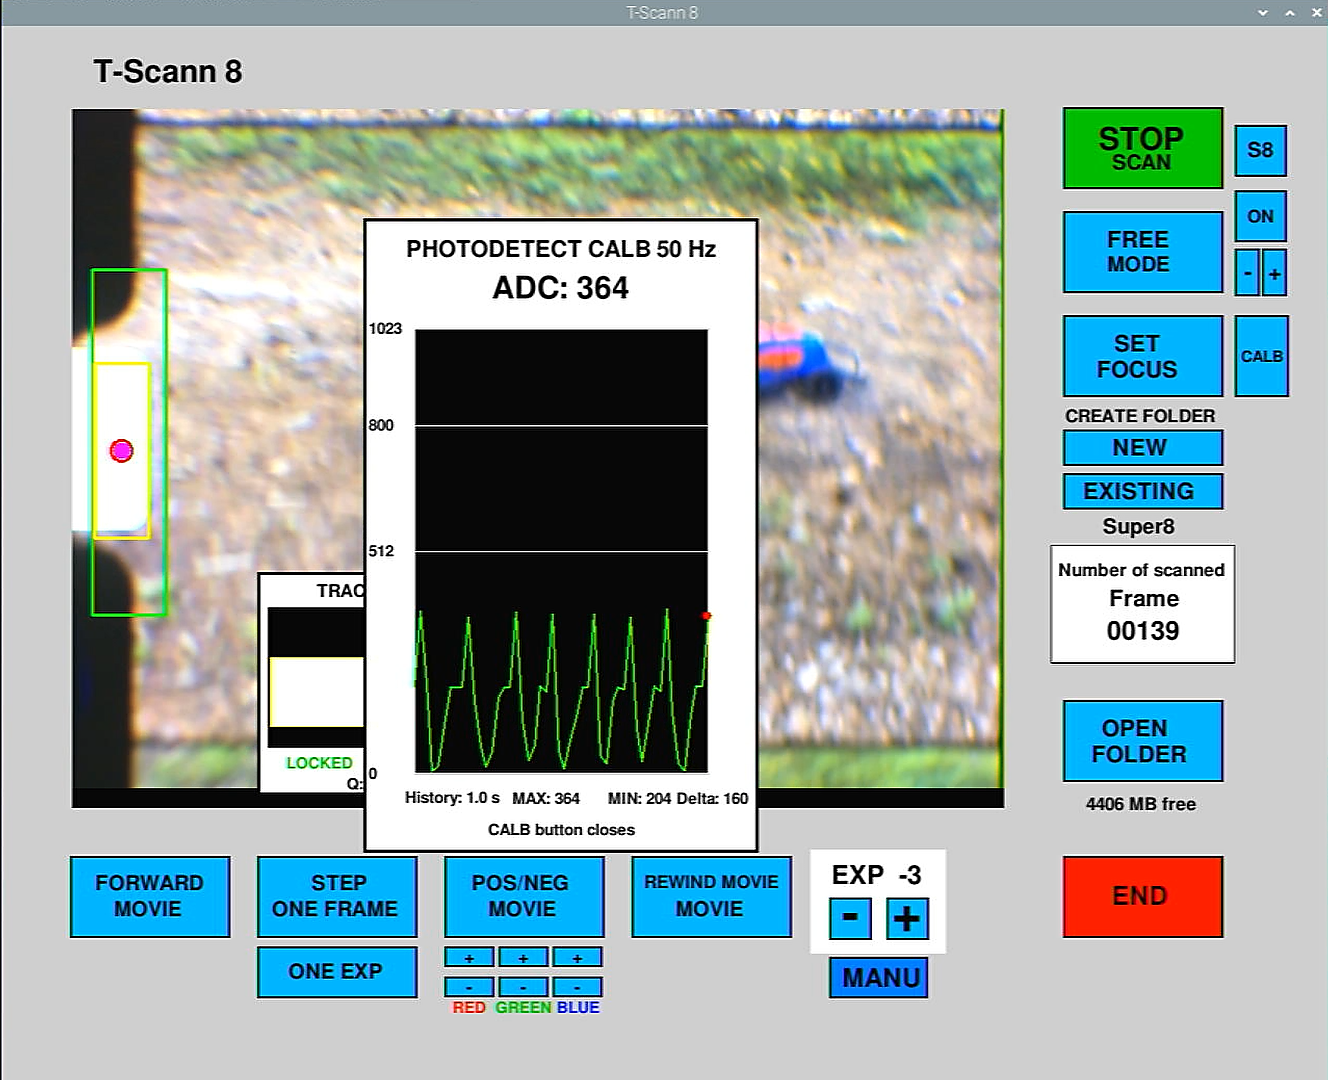
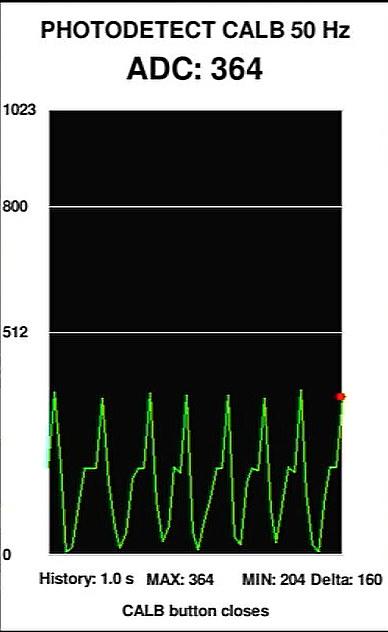
Calb is like Serial plotter in Arduino IDE, Not as good but useful. On Arduino it shows 0-1023, here it shows the same but the data from Aruino transfers 0-255 x 4 so each level is not as accurate. This trick is so that the Arduino has time to do something other than send I2C data all the time. Use this function to see that everything seems normal or make minor adjustments, maybe see if it is time to connect the scanner to the computer with Arduino IDE.
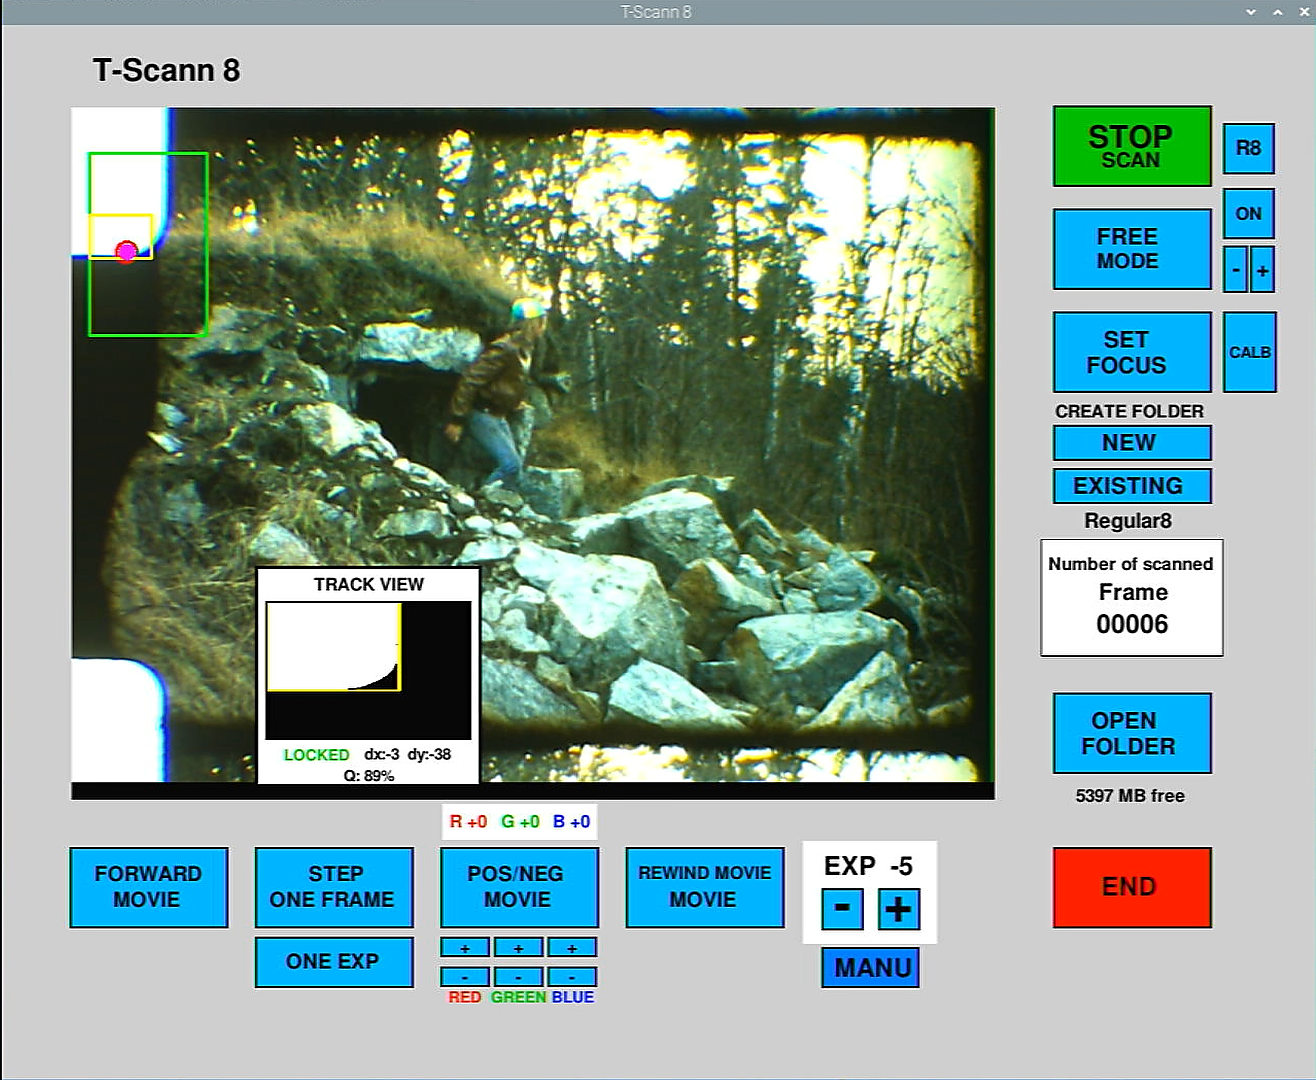
Regular 8
Works the same way, but only tracks on the upper perf and a small part
there is a clear rounding on the perforation
If you use the white led i recommend then Gamma 75 is probably good, if you use a weaker or stronger one you may need to adjust this value. More gamma makes the image darker until it doesn't see anything at all of the perforation hole. Less makes it brighter, don't lower it more than necessary or else it will see the image. Optimal is if it never sees the image but if it is very bright sky, snow and other things then it can be difficult to stabilize after perforation.
367 TRACK_GAMMA = 75 # Higher values make bright backgrounds darker
368 TRACK_CONTRAST = 1.15 # 1.00 disables contrast adjustment
369 TRACK_BRIGHTNESS = -5 # 0 disables brightness adjustment
370 TRACK_BLUR = 3 # Use 0, 1, 3 or 5; odd values only
If it is impossible to stabilize parts of the film, turn stabilization OFF and stabilize in DaVinci Resolve,
then there are several options for stabilizing.
Good to know the stabilization uses frame 2 as a reference for the rest of the movie.
So delete frame 1 it will often be very wrong.
The scanning speed is with stabilization 62 frames per minute and unstabilized 70 frames per minute (Raspberry PI 4B)
Even if it were possible to make a program to automatically convert all frames to an mp4 file, that's how much you can adjust and improve in Davinci resolve. So I won't make a program for this.