
T-Scann 8 - project page
Super 8 / Regular 8 film scanner
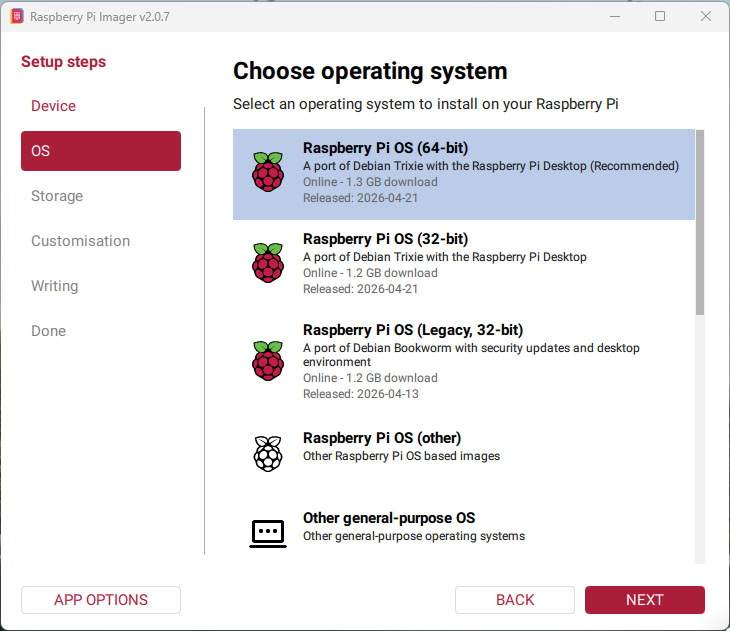
Install Raspberry PI OS 64 bit
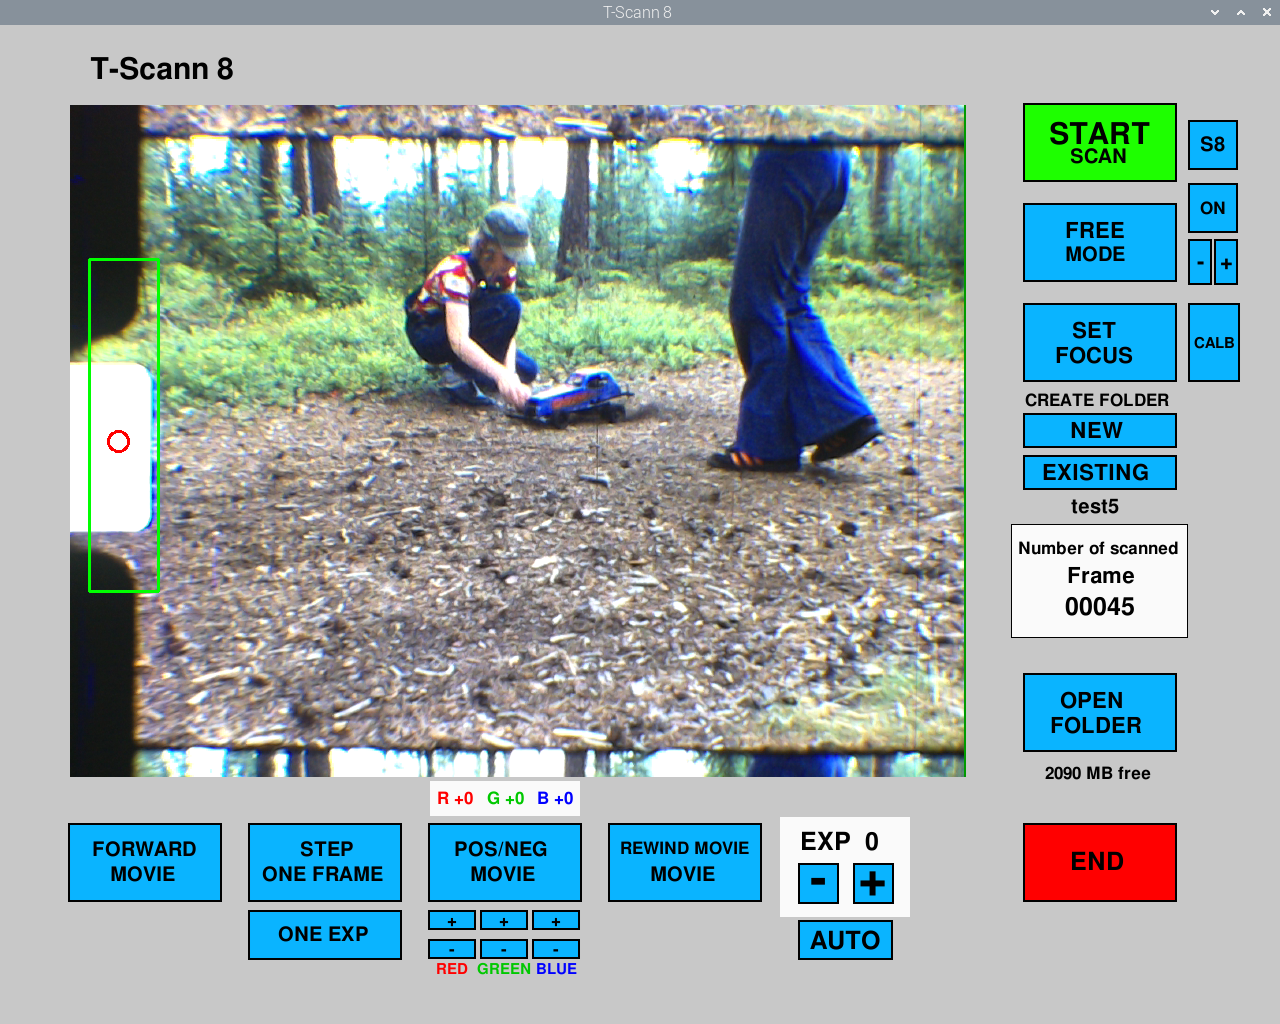
Without an operating system on the Raspberry PI, absolutely nothing happens!
The operating system runs from a micro SD card, recommend 16GB Class 10 or faster. You need a Windows, Mac or Linux computer to put the operating system on the micro SD card.
First download the Raspberry Pi Imager to install the operating system on your micro sd card
https://www.raspberrypi.com/software/
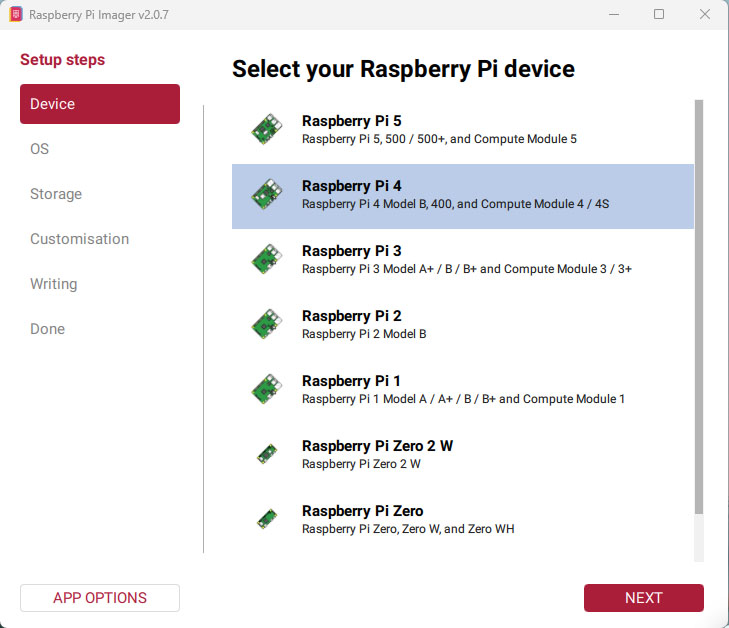
Please specify which version you have.
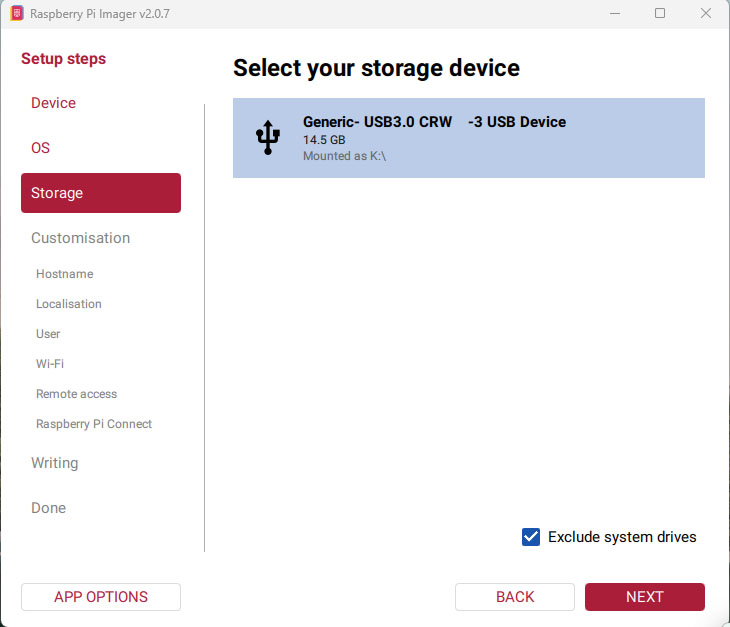
This is your micro sd card
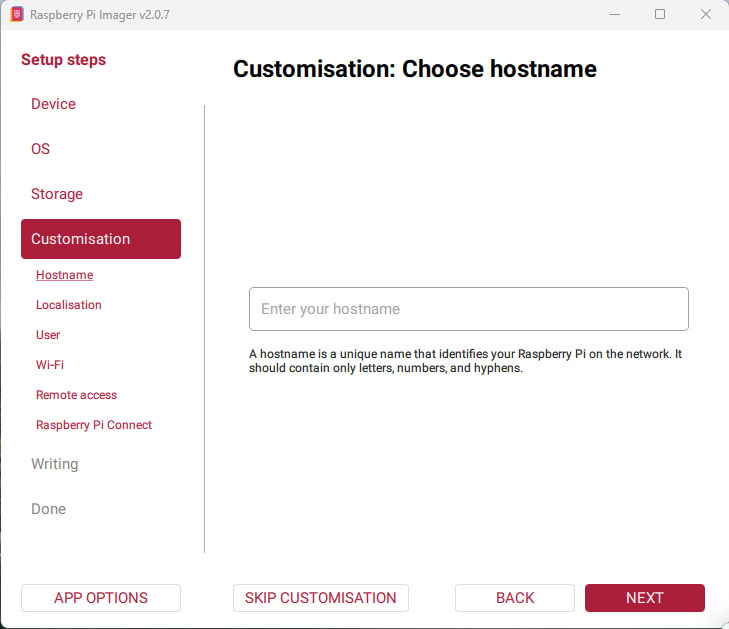
Not necessary
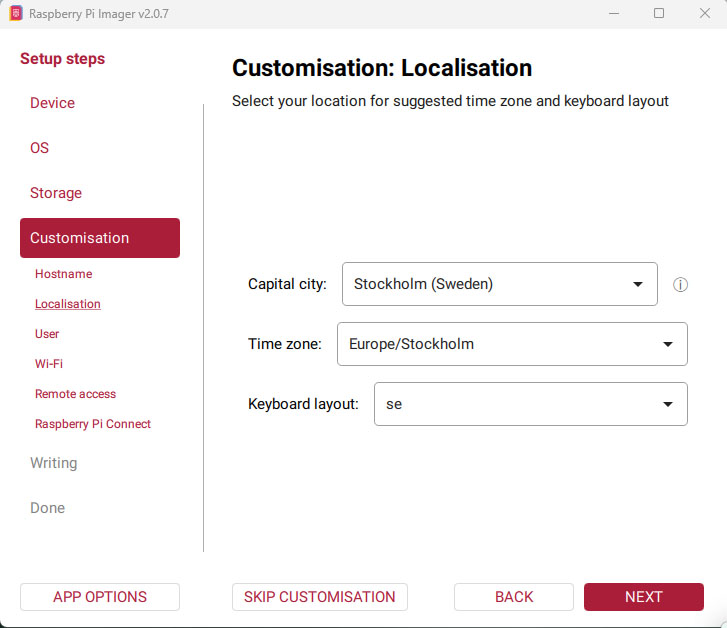
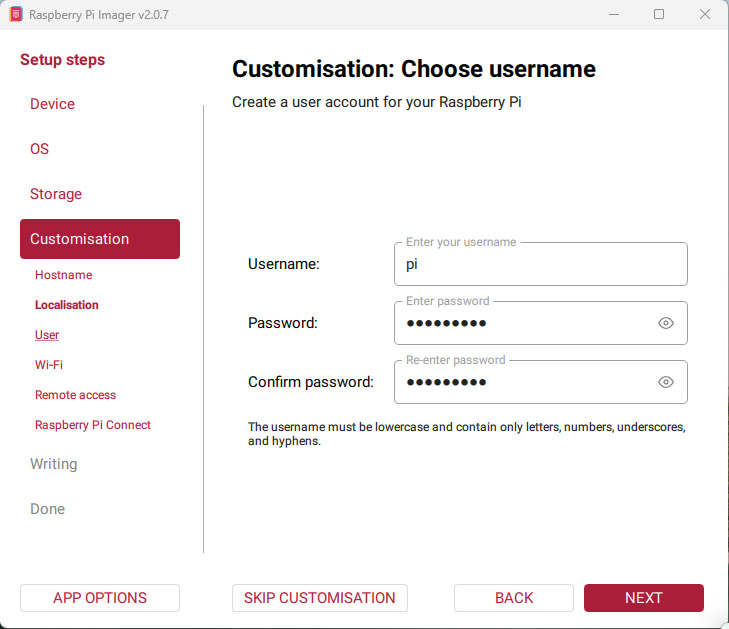
Enter "pi" it is a path specified in the user interface program. Password: raspberry
rasperry is the default in previous OS. Simply enter this so you don't have to remember it and can google it if you forget.
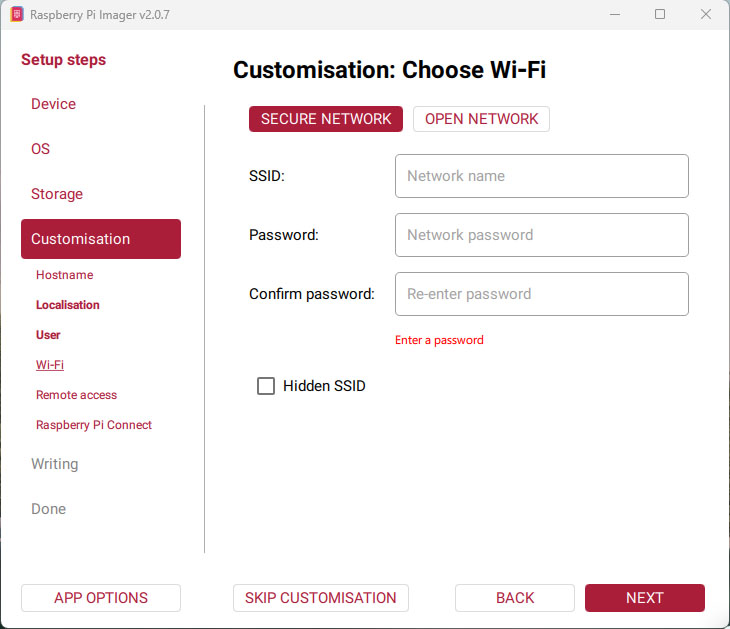
The easiest way is to use wifi, enter your details now or later after installation. You can also connect with a cable, but you need internet when configuring the OS after installation and getting OS updates.
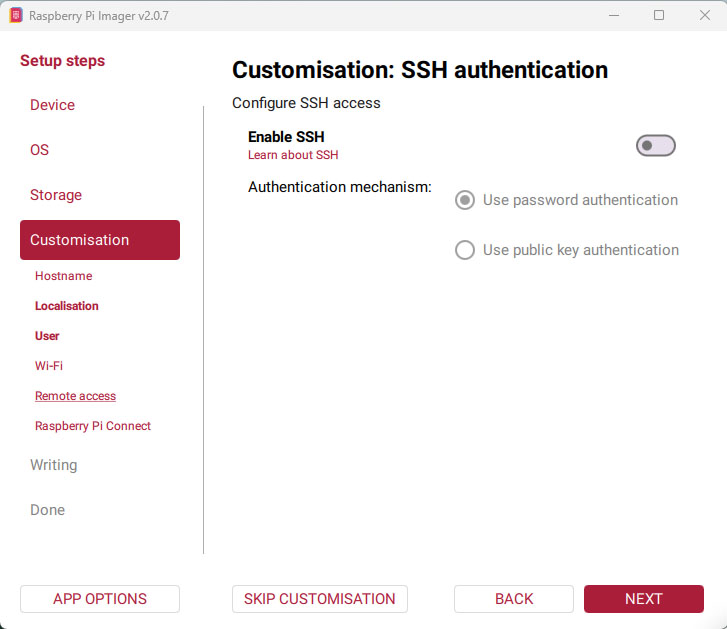
Not necessary
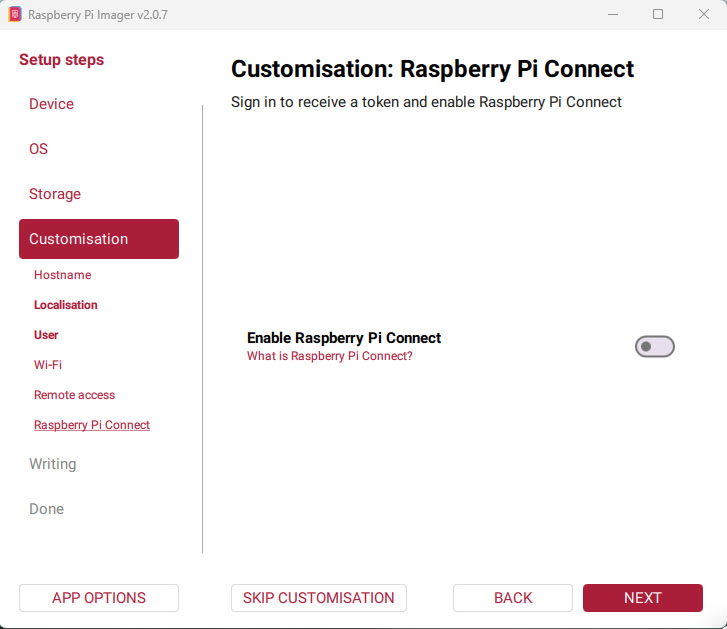
Not necessary
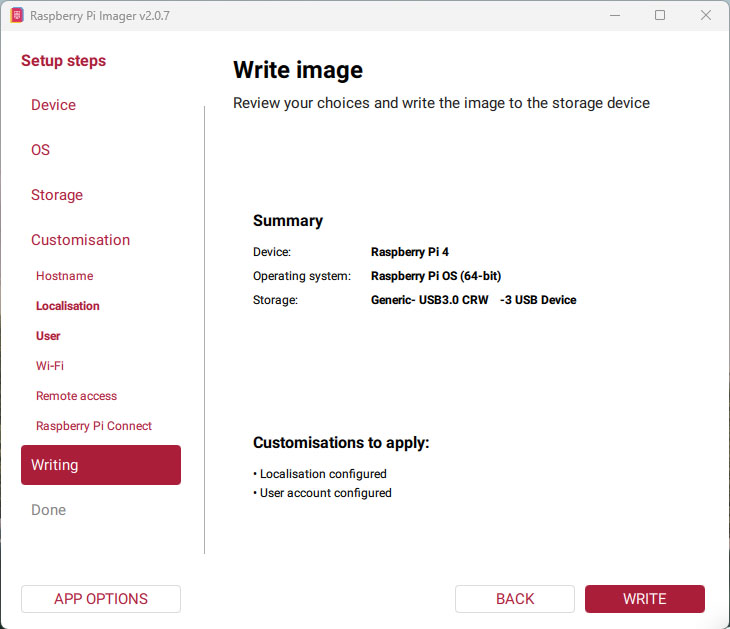
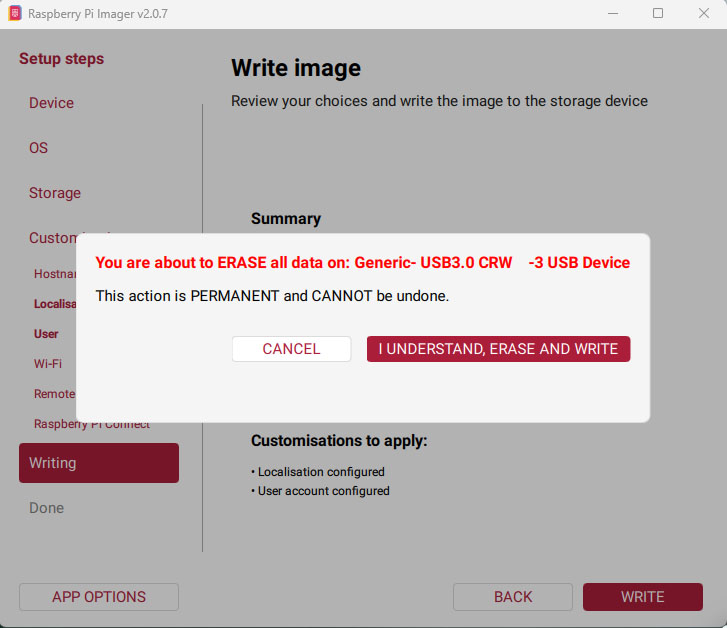
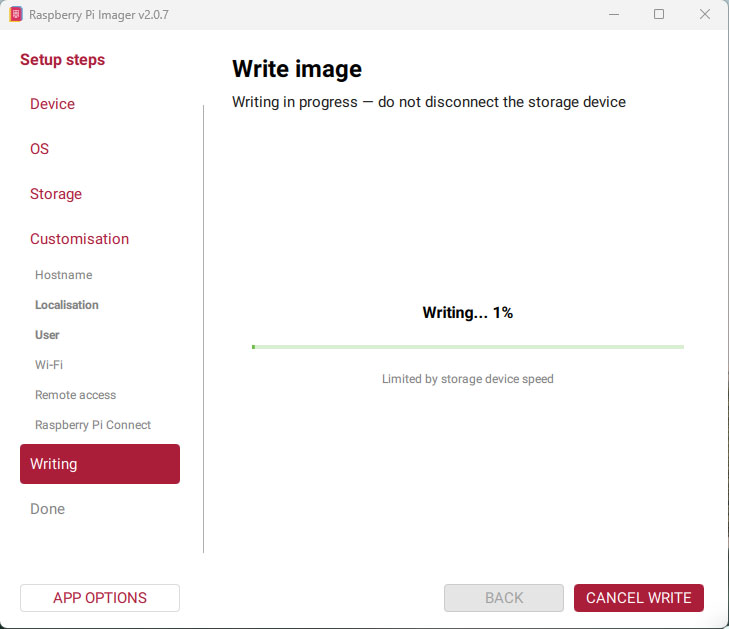
This will take a while, you can have a cup of coffee in the meantime....
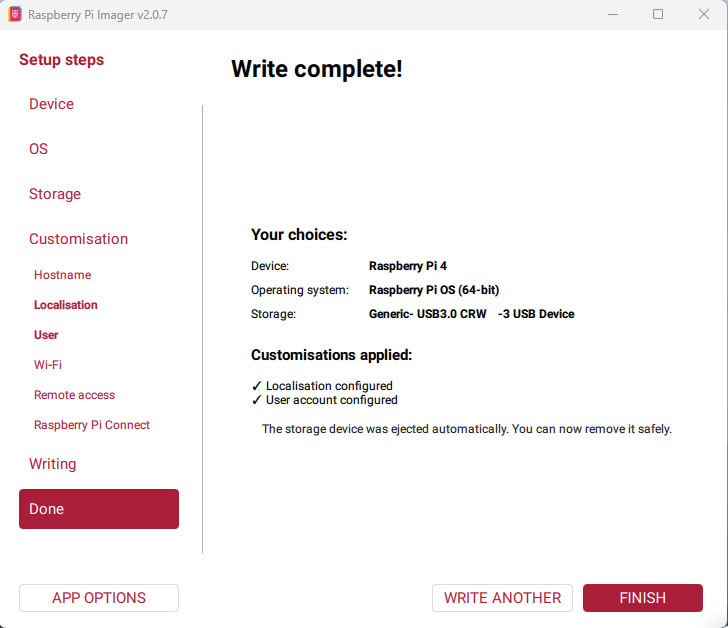
Done! take out the card and insert it into your Raspberry Pi.
The contact surfaces on the card should be facing up when you insert it.
Start your Raspberry Pi, images and text will appear during the installation, it will take a while, just wait....
Configure the installation on Raspberry pi
Save this to a text file and put it on a USB stick. You need this to configure
sudo nano /boot/firmware/config.txt
dtparam = i2c_arm_baudrate = 10000
sudo pip3 install opencv-python --break-system-packages
Also put "T-Scann8-UserInterface-V4.0 64bit.py" on the USB stick at the same time
We start by opening Control Centre
Enter raspberry
Turn on I2C, so that the Arduino and Raspberry Pi can talk to each other.
Start the terminal
Paste: sudo nano /boot/firmware/config.txt
press enter
Terminal is important, there we can check which operating system we have, etc. and set advanced things. Now we will lower the speed of I2C. This will make our system more robust.
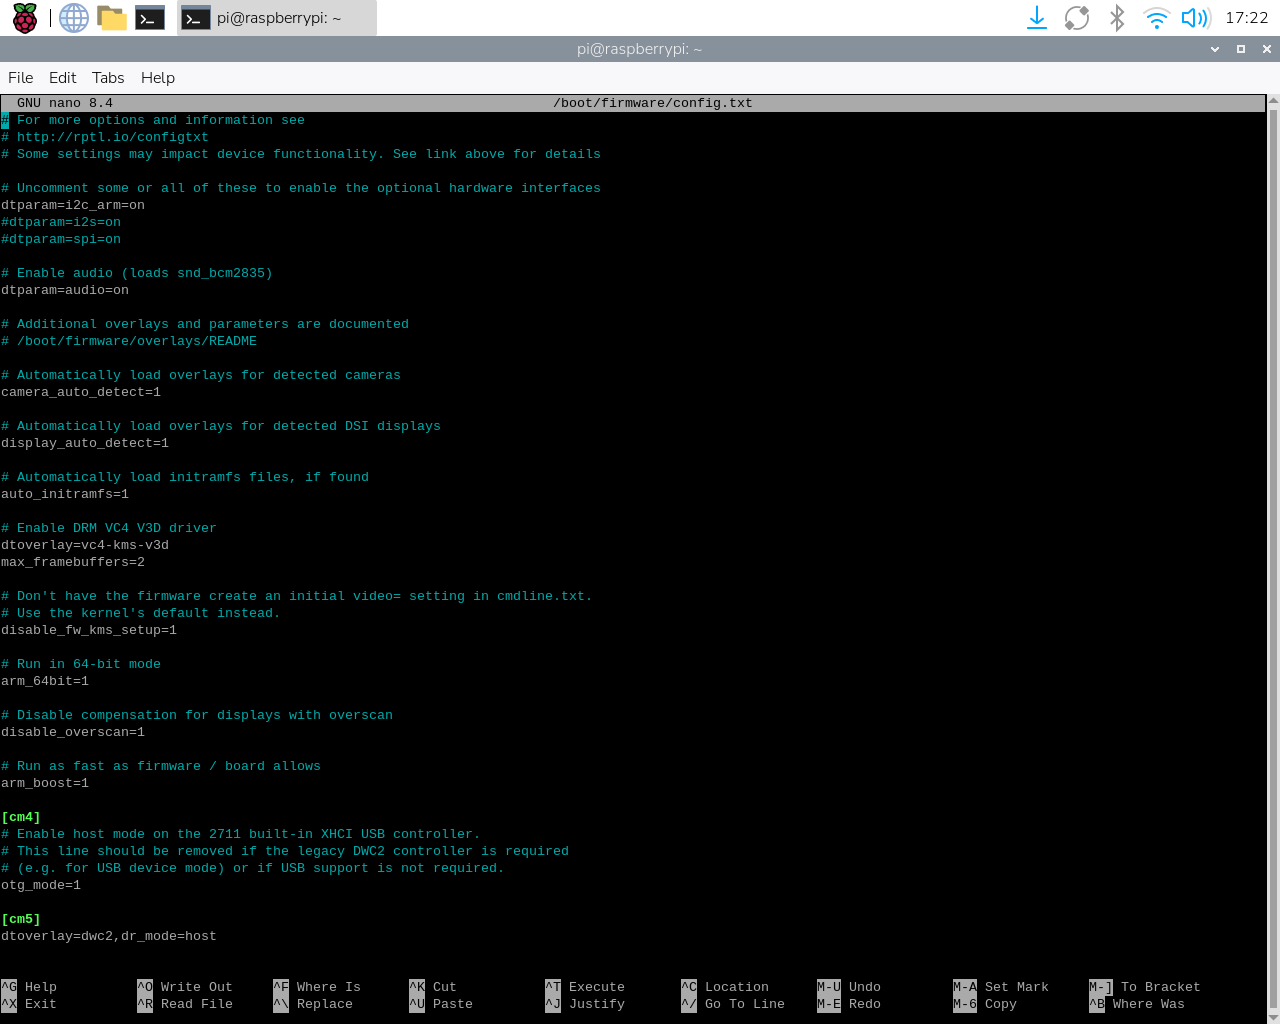
Find the line
"dtparam=i2c_arm=on" (the line without the # which means that text after the # is not valid)
replace it with
dtparam = i2c_arm_baudrate = 10000
Use the UP/DOWN/LEFT/RIGHT arrows on your keyboard
and the back button/arrow
Use CTRL-X, then Y, then RETURN to save the file and exit.
When you are back at the command line in terminal type "sudo reboot" and press enter
Now the Raspberry will restart so the new setting will be activated
Now it's time to install openCV (cv2) which is needed for image processing. Paste "sudo pip3 install opencv-python --break-system-packages" press enter. Type in password you won't see it go in, but it does Press enter.
Paste "T-Scann8-UserInterface-V4.0 64bit.py" from your USB stick and place the file on your desktop
Now it is successfully installed.
Warning text nothing to worry about.
Close Terminal
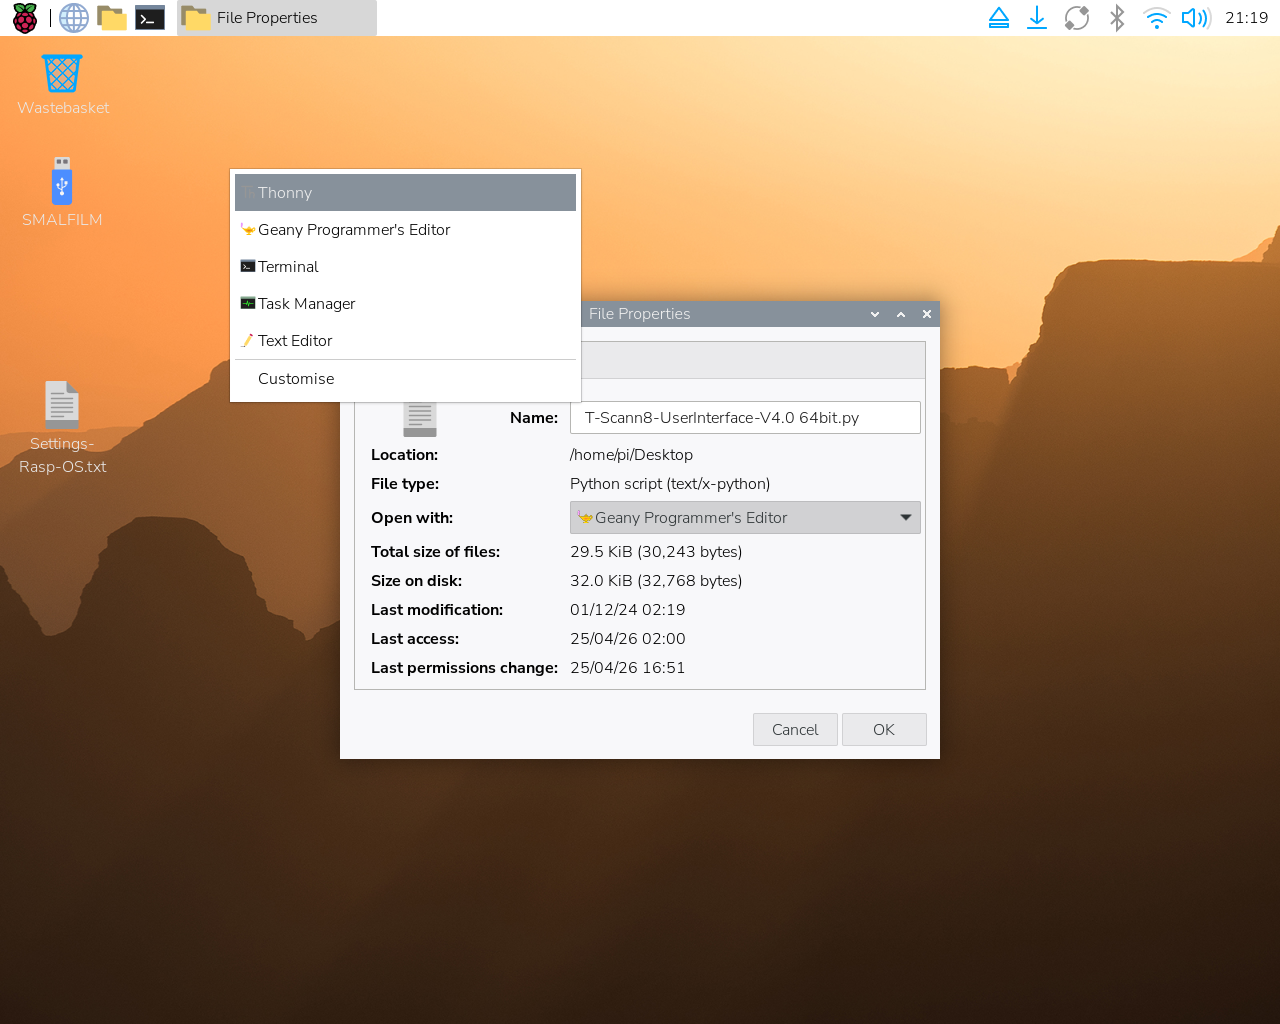
Right click on the file there are 2 different programs to run Python code, Thonny is simpler than Geany which is the default. So we choose Thonny.
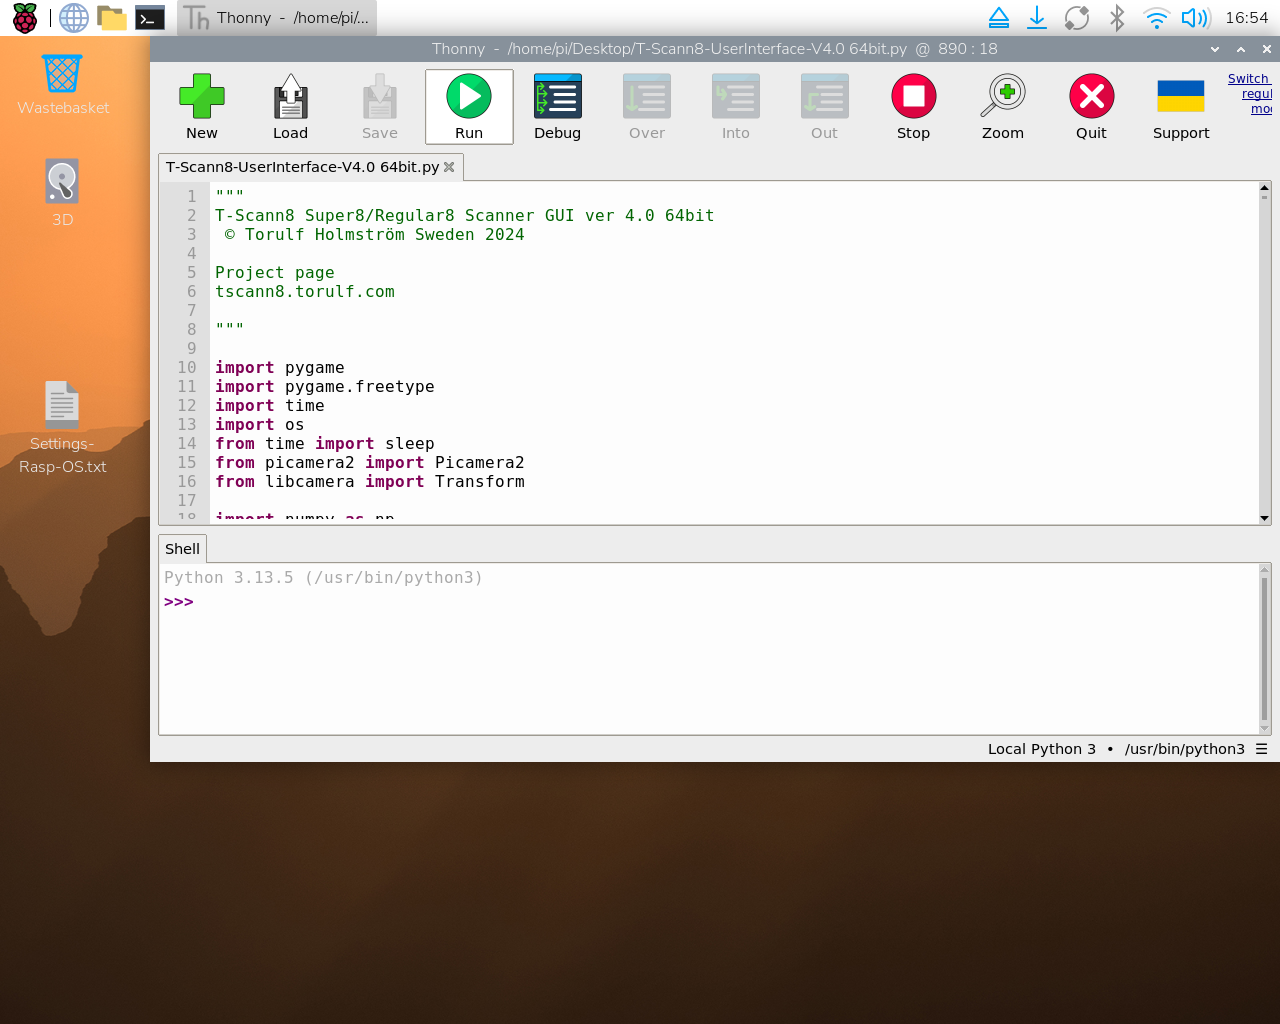
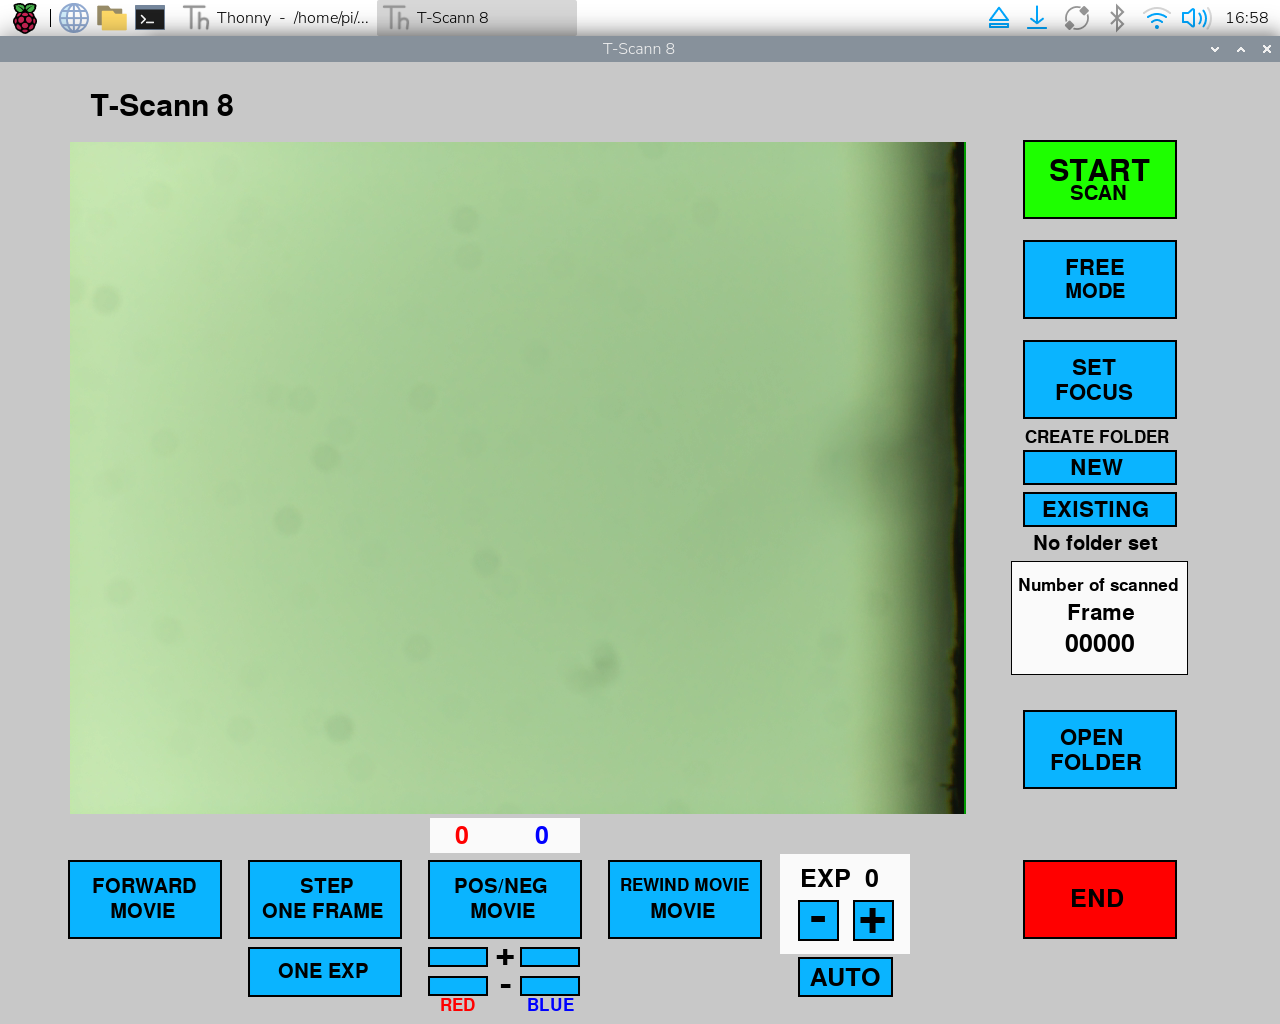
If everything is correct, start the program. Play button "Run"
Before loading the film, check that the User Interface can control the Arduino via I2C and that the stepper motors are moving in the right direction.
https://tscann8.torulf.com/tuning.html
Click on the USB memory or hard drive to eject it.
LOW voltage warning occurs, still works
Once everything is working, if there is any update, install it.